Stage One: Assessment and Design
A tennis court is the largest thing we build, so the assessment stage carries more weight than it does on a smaller project.
We measure the available area against the 60 by 120 foot pad a full court needs, working from the tennis court dimensions and space requirements, check setbacks, and look at fall direction across the whole footprint rather than just at one corner. We assess tree canopy, because a court under significant canopy collects leaves year-round and dries slowly. And we look hard at access, since a slab this size means a lot of concrete arriving in a lot of trucks.
Orientation gets decided here too. North-south alignment keeps low sun out of players’ eyes at the hours home courts actually get used, and where lot geometry fights that, we show you the trade-off rather than defaulting to the lot lines.
Then 3D design: the court modelled on your property at real dimensions, with surface and fencing colours, so you see how it sits before anything is committed.
Stage Two: Permitting and HOA Review
Tennis courts attract more architectural review attention than smaller courts, simply because of scale. Fence height and lighting are the two items committees question most.
We prepare and submit the whole packet at no cost: dimensioned site plan, material and colour specifications, fence details, lighting photometrics where relevant, and the 3D rendering. Alongside it we pull the city permit and schedule inspections.
Typically two to six weeks, set mostly by committee meeting frequency.
Stage Three: Site Preparation and Grading
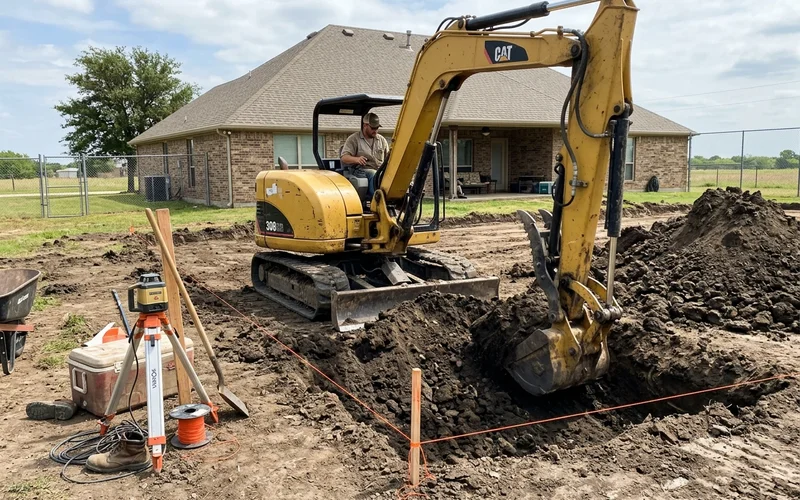
Construction starts with earthworks, and on a tennis court there is a lot of it.
We cut the pad to depth, remove or redistribute spoil, and lay compacted crushed aggregate as a sub-base. Compaction is tested rather than assumed, because uneven bearing under a slab this large produces problems no amount of good concrete corrects.
Critically, the drainage fall is established at this stage. String lines set the continuous 1:120 cross-slope before any forms go in, and that plane is carried through everything that follows.
Stage Four: The Post-Tension Slab
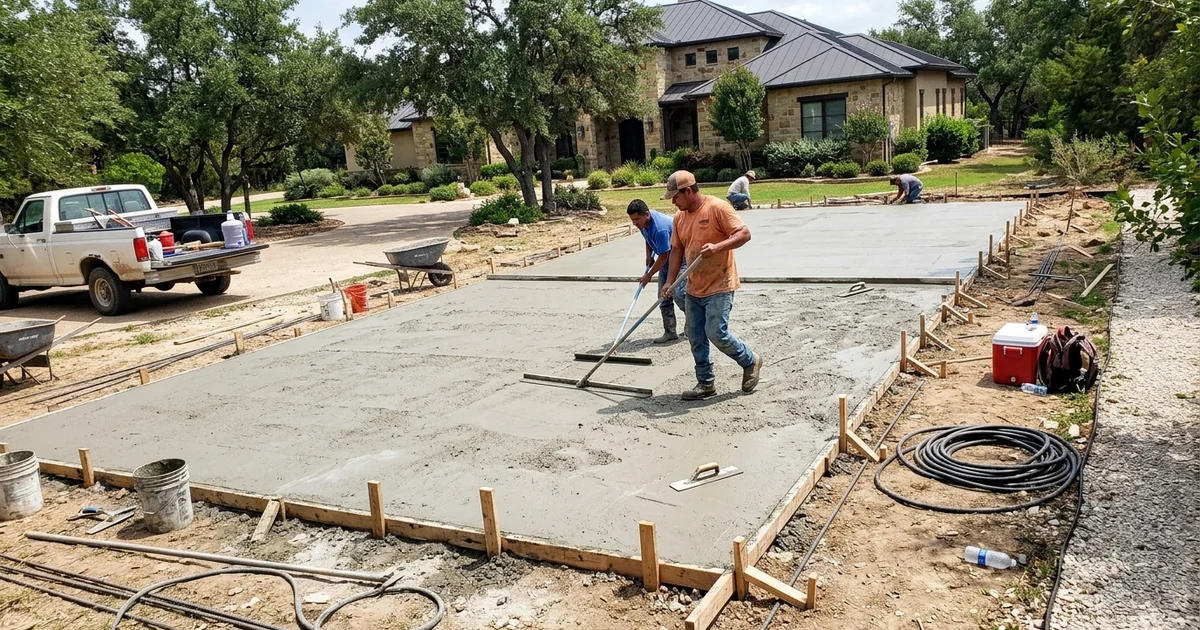
A vapour barrier goes down over the compacted base to limit moisture migration from the soil. Post-tension tendons, sheathed and greased, are laid in a grid across the whole pad area, and a thickened reinforced grade beam is formed around the perimeter.
The pour is monolithic: one continuous placement screeded to the cross-slope plane. On a 60 by 120 pad this is a substantial operation and it needs a clear weather window, which is one reason we favour fall builds in North Texas.
Once the concrete reaches specified strength, each tendon is stressed with a hydraulic jack and locked off at its anchorage. We measure and record the elongation on every cable to confirm design force was reached. Expansion joints are placed according to the slab design.
The slab then cures. This block cannot be compressed, and rushing acrylic onto green concrete is how delamination happens in year two.
Stage Five: Surfacing and Striping
Once cured, the slab is acid-etched or treated with an adhesion promoter so the coating system has something to key into.
Then the acrylic build-up: resurfacer coats carrying graded silica sand for texture, followed by colour coats in the scheme you chose at design stage. Texture grading matters more on tennis than almost anywhere, because it determines slide characteristics on a hard cut.
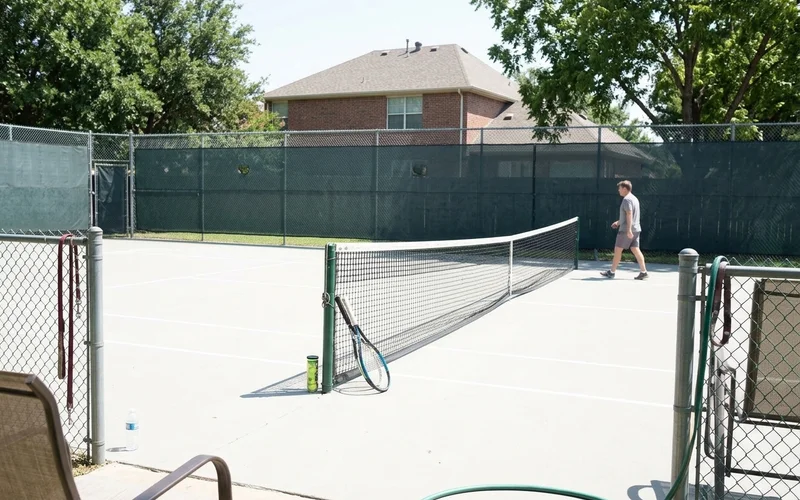
Line striping goes on last, masked and painted to ITF and USTA dimensions. Baselines, service lines, centre service line, singles and doubles sidelines, and centre marks, laid to tournament tolerance. The full specification is on our tennis court construction page.
Stage Six: Net System, Fencing and Handover
Net posts are set in their own concrete footings, fitted with a turnbuckle cable tensioner, and the centre strap anchor is set flush into the surface so the net holds 36 inches at the middle.
Fencing follows if it is in scope, typically ten feet with HDPE windscreens fitted with blowout vents. Lighting poles and fixtures go in if specified, with aiming checked at night after installation rather than assumed from the plan.
Then the walkthrough: every line, fitting, and edge checked with you, net tensioning demonstrated, and care guidance handed over.
Realistic Timeline
| Stage | Duration |
|---|---|
| Site visit and 3D design | 1–2 weeks |
| HOA review and permitting | 2–6 weeks |
| Earthworks and sub-base | Week 1 |
| Slab pour and stressing | Week 2 |
| Cure and surfacing | Weeks 3–4 |
| Net, fencing, lighting, walkthrough | Week 5 |
The construction window holds at 25 to 30 days because one in-house crew runs every stage. There is no waiting for a surfacing company to free up between the pour and the coatings, which is where multi-contractor tennis builds most often lose weeks.